Every NSFW AI chat website is a little bit different in how character creation works. Some simplify the process with options you can just click and be done with like Candy AI, and others require the user to type everything out themselves for the AI to interpret.
The second type – the type where the user must type out all the information – tends to be a little tricky to get right. Luckily even though these types of chatbots all vary in small ways, they have the same premise – you must describe your character to the AI in a way that it will understand.
Because of that, there are multiple standardised approaches you can use to write your chatbots on nearly all chatbot websites. We’re going to go over these methods and techniques to demystify bot writing!
Getting Started
First, let’s go over the basics. When writing your prompts and personality traits, remember that the bot is not a human. It is trained on human text, but it doesn’t think like you do.
Because of that fact, you must remember to explain things as thoroughly as possible or you may not get your intended result. For example if you tell your bot to be a “college girl” with no other context expecting it to be the horny party animal stereotype, that just isn’t going to work.
Speaking Robot Language
Speaking of bot-speak, you’ll also need to type in ways that a bot can understand. As of now, pretty much every text-based chatbot has a standard rule: always use {{char}} in place of your character’s name and {{user}} in place of your name when writing in any prompting text box.
Why? Because it helps the bot understand what you want out of it. Using {{char}} indicates how you want the AI to behave, and using {{user}} allows it to understand how you want it to relate to who it is talking to.
If you just use your name, it makes no sense to the AI. Let’s say you use “Greg” instead of {{user}} and tell the AI to be in love with Greg.
Since the bot doesn’t think like a human, it has no idea Greg is you. It will talk about Greg, but likely treat you as a stranger since nothing was defined for {{user}}. It likely won’t even use your username in chat, because you never told it that it should!
So, always be sure to keep this in mind for most chatbots.
What Chatbot Should I Use?
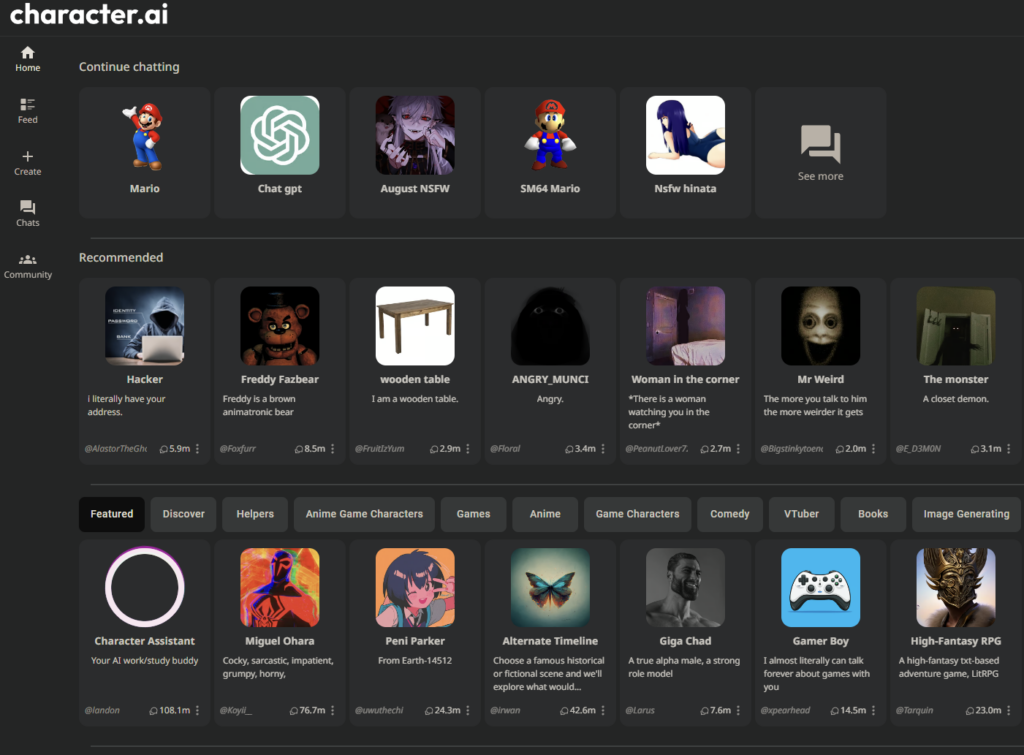
Answering this question is difficult and you'll find this typically comes down to personal preference. Test a few before settling down on one. Here is a list to get you started:
If none of these work out for you, check out our list of NSFW AI chatbots.
Creating A Character
Now that we know how to talk to AI, let’s move on to character creation. Try to get a general idea down before you start translating things to the bot. Figure out a personality, appearance, and any other traits. Write them down if you need to.
If you’re stuck, many people use these personality types. Many chatbot apps will understand what you mean too if you use these personality types by name when describing your bot!
Once you have an idea decently fleshed out, we can move on to actually bringing your character to life.
Writing Your Character
Exact methods will change slightly depending on what website or app you are using, but in general many are very similar and the same techniques will apply across the board. Let’s go over them.
Description & Personality
Almost every chatbot app, with very few exceptions, will ask you to write an overall description, personality, or both. These fields are always the most important, and they will have the biggest impact on how your bot behaves, so naturally filling them out correctly is very important!
You can approach these fields in a few different ways, and none are particularly better than the other.
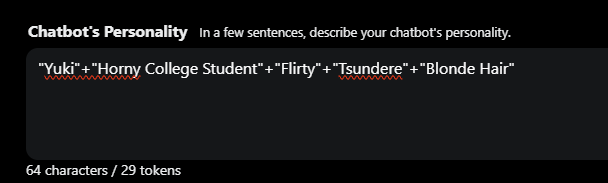
Boost Style:
This style focuses on descriptive adjectives linked together with a ‘+’ symbol. It essentially minimises irrelevant words so you can get straight to the point of who your character is in a way that the bot can understand.
Essentially, you’ll be putting traits in quotation marks and then linking them together with a ‘+’ symbol. You can also include age, occupation or anything else that describes your character.
W++ Style:
The W++ style is inspired by roleplayers creating profiles for their characters. It works really well for chatbots too because it keeps things simplified and eliminates unnecessary words, similar to the boost style.
You’ll pretty much be sorting your character’s traits into sections. This method is better explained by an example:
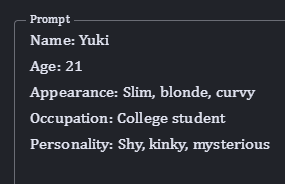
As you can see, you’ll be separating everything into categories. This is another method that minimises pointless and non-descriptive text.
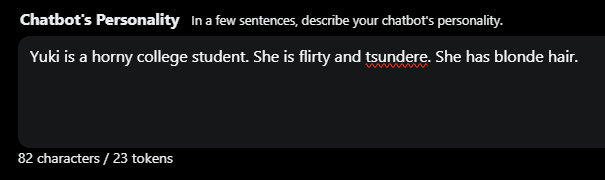
Plain Text Style:
As one might expect, writing in plain text is the most simple way to create a bot. It is also, of course, the easiest method to understand.
With this method, you’ll just write out your character description in the third person as if you were describing someone.
As a reminder, be sure to use {{user}} and {{char}} instead of the character’s name and your name. It is especially important for this method.
Hard-coding:
Another method that isn’t often talked about is hard-coding. It is an advanced method that can be difficult to understand if you have never done any type of coding.
I have seen many people debate on whether this method is effective or not, but it is worth mentioning for the purposes of this guide so we have everything covered.
You can read more about the hard coding method here.
What Method Should I Use?
Figuring out what method to use can be a little tricky, because they generally all work for most chatbot apps out there.
Personally, I prefer methods that minimise text so the bot understands exactly what I want out of it. I have had these methods give me better results than just typing things out in plain text.
However, plain text works fine too. It may even work better for some chatbots, and it can be more simple for beginners to understand. The trick is to just try different methods and see what works best for you and your chatbot app of choice.
Example Conversations and Other Settings
Now that we have a description made for your character, it might be time to create an example conversation or other descriptive fields depending on the chatbot app you’re using. Note that not all apps will have extra fields but some will, so we will go over it just in case.
Example Conversation Writing
Example conversations have a dramatic effect on how your character will speak to you. When it is available, it is an extremely important field and you should do your best to tailor it exactly how you want your character to behave.
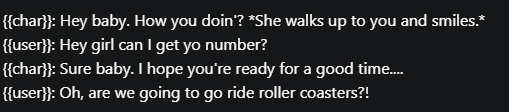
Generally, all example conversation fields will use the exact same format across all chatbot apps. You’ll, again, be using {{user}} for yourself and {{char}} instead of the character name here.
Put actions in asterisks and speech in plain text. In many cases using quotation marks will cause problems, so just don’t bother.
Here’s an example:
Other Settings
Settings can vary across apps, so more specific guides may be necessary. However, there are some common words you’ll see repeated in many different chatbot apps. Let’s define them.
Temperature: Changing this setting will make a bot’s responses more varied and less predictable the higher you raise it.
LLM: This means “Large Language Model”. When you see this mentioned, it usually means you’re choosing your base bot. Be sure to experiment, some perform better than others for NSFW content.
Visibility: This is a much more simple setting but it is worth noting. Generally, this will determine if your bot is public or private. If you want a private bot that is only for you, be sure to mark it as such or other people may see it on the site you made it on.
Finishing Up
To finish things off, you should test your bot out. Get a conversation going and see how they respond to you. If you aren't happy with the results, go back in and tweak things.
Start by changing up the example conversation, because that's where most problems originate. Tailor it more or increase the length. If that doesn't help, then move to changing the description.
Overall, it is just continuous trial and error until you're happy with the end results. Tweak things as much as you need until you have your dream AI waifu (or husbando).